How to build a sandbox
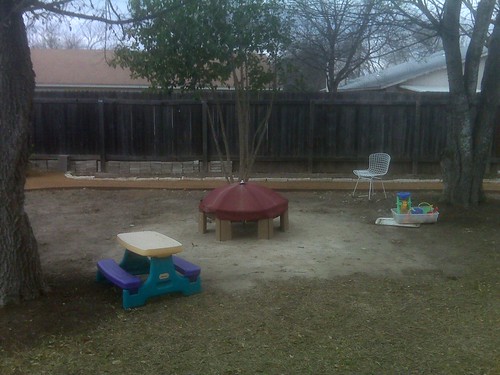
the current sandbox is really a sand table. A nice donation to the school, but after hearing one parent tell me that his kid will spend hours in the sanbox that he built him i knew that i too wanted hours. mmm.....hours (homer simpson voice)
Theresa wanted one for the school anyway. I told theresa that i was gonna build one the other day and she wanted to see/aproove my "plans".
"what plans?" i said. you put some wood in a square and put sand in it. how hard can it be? plus i got AK to help me.
"but it has to be sturdy and safe" she replied. "oh, i got your sturdy!" (kramer voice)
here we are lining up the 4" by 4" by 8' rounded edge pieces of lumber from Home Depot. 15 bucks a log. 8 logs total.
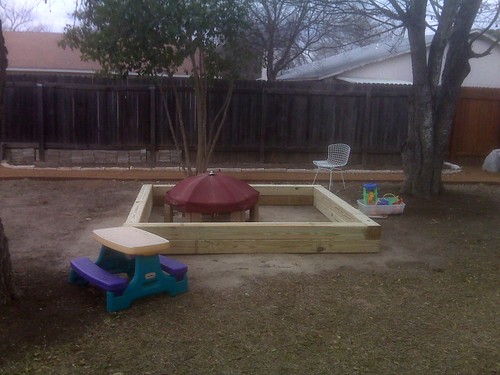
nothing has been nailed yet, just lining it up to get the wifes approval before i start work.
here we are now staining the logs. before you stain, be sure that the wood has aclimated itself to the weather that is normal for your area. it texas, that means dry and hot. so this was at the end of dry and hot day. these logs are heavy. most sanboxes are a little more complicated because they are smaller and are not so heavy duty. I have gravity on my side on this one.
Level the site. stain the logs and put them into place. luckily our site is perfect cuss thats wear the shed used to be so its nothing but a 10' square level dirt patch. normally i would use a weed blanket on the ground but that dirt hasnt seen sun in 32 years.
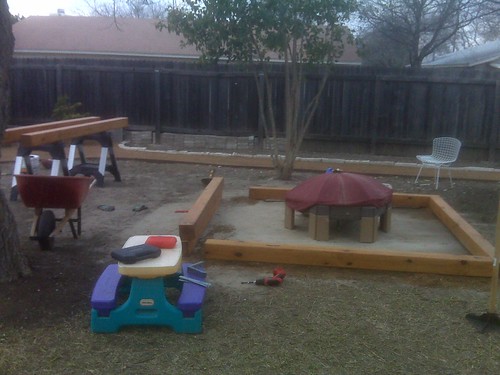
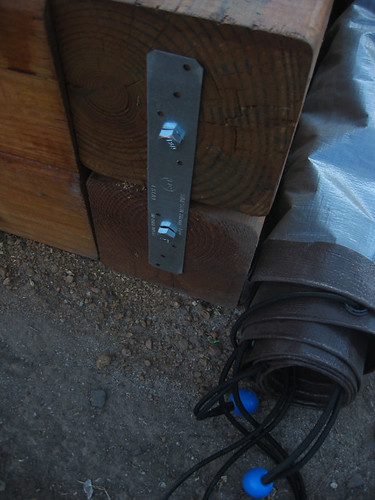
now lay lay them down and tie them together using sampson ties. 16 total at 2 bucks each. Use galvanized carriage bolts to bolt them together. Then dump in your sand.
I used half a cubic yard of white masonry sand. the "luxury" play sand at 20 bucks for all of it. you can also use fill sand. its cheaper, but not white, more of a dirty sand.
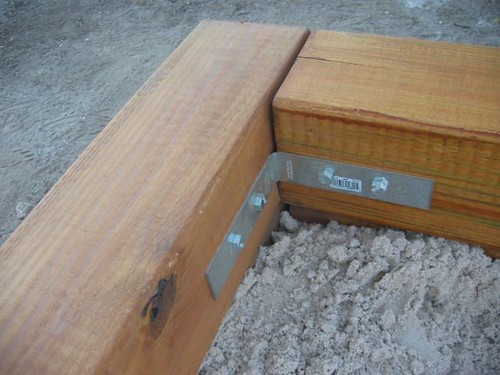
attach the logs on top to the logs on bottom with sampson ties. 4 total at 83 cents each
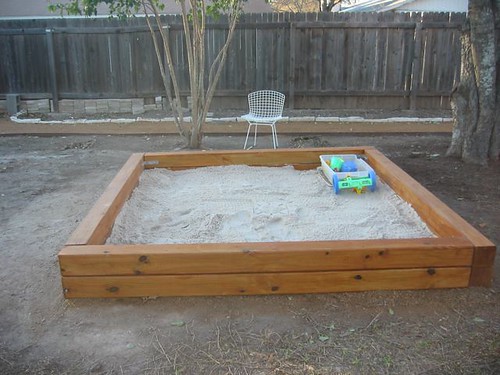
and walla!
now for the cover. gotta cover that thing for all kinds of reasons. Main one being it makes a very luxurious kitty litter box.
use the same carriage bolts to use as pegs. a total of 40 bolts is needed at 50 cents a bolt. 3/8ths at 3 inches bolts
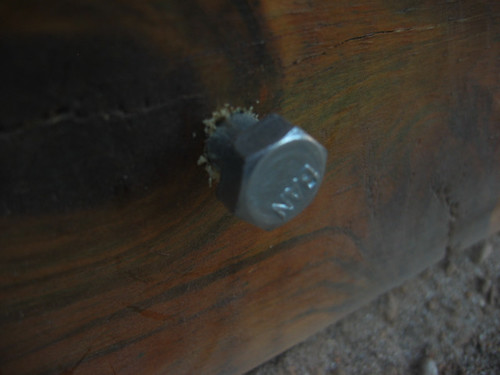
these pegs work with the tarp ties that will hold down the tarp that covers the box . one box of 10 12 inch ties at 5 bucks for the box
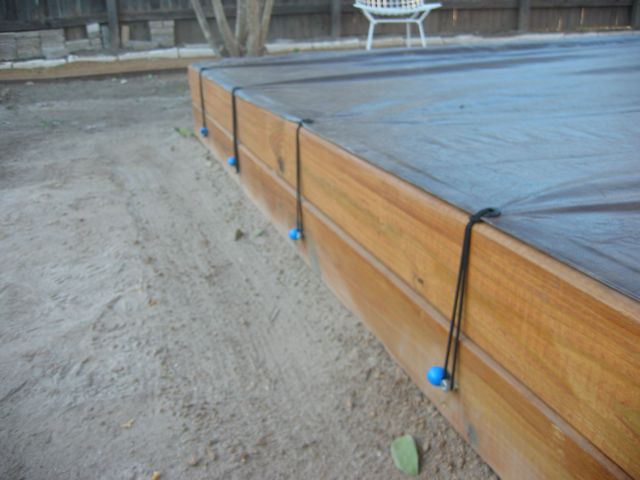
now layout the heavy duty 23 dollar tarp over it and use the grommets to tie it down.
attach a 15 dollar 8'6" dowel rod at the end of the 8'6" by 11' tarp with zip ties thru the grommets to use as a roller/stretcher.
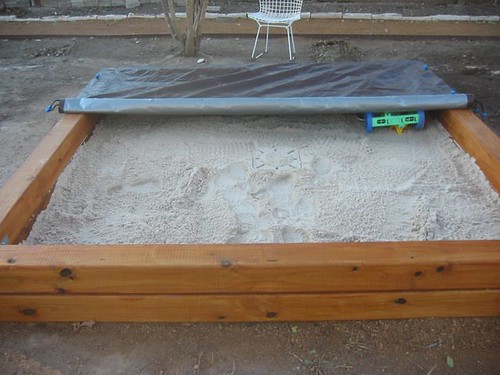
secure the tarp to the backside of the box with carriage bolts through the grommets
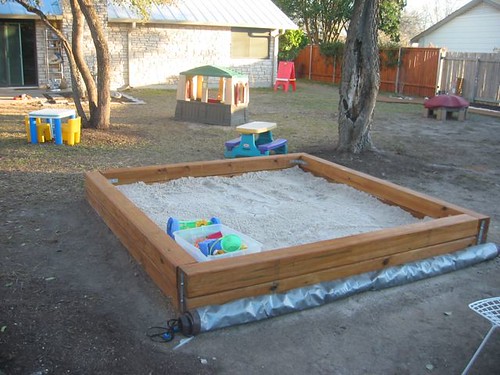
here we have a picture of the backside of the box with the tarp rolled back
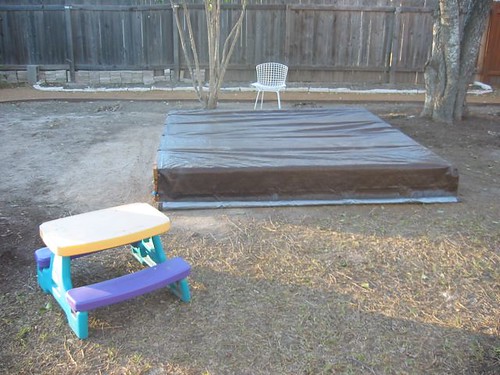
and closed up at the front.
now some of you might be asking about water. well this box is too big to put a pylon cone in the middle and buy a really big tarp to cover it with the stretch, so we opted to just push the rain water to the back when we lift the cover on the box. done and done.

4 Comments:
what a great sandbox!
Where did you buy the tarp of exact size?
This was a really insightful and thought-provoking read. The author did an excellent job of exploring the nuances of the topic in a clear and engaging way.
tarpaulin sheet
this is amazing and very useful
tarpaulin
Post a Comment
<< Home